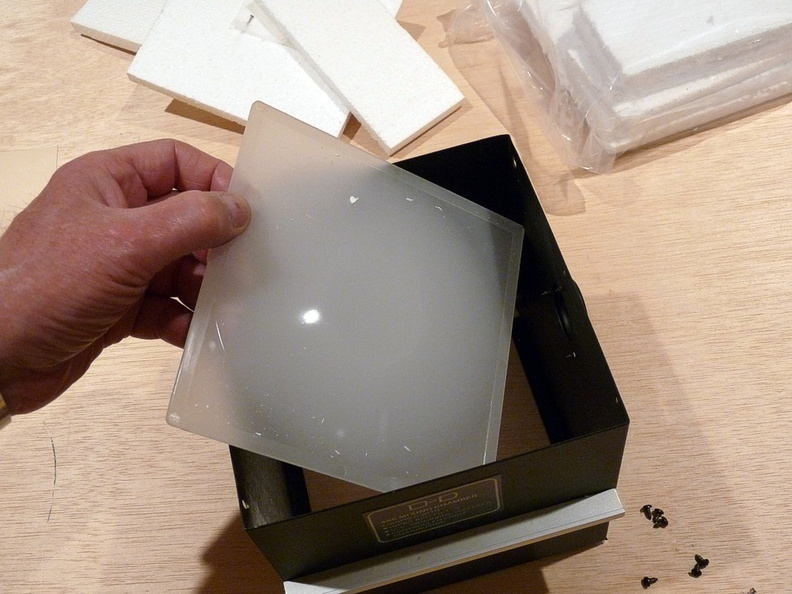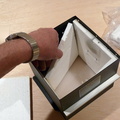
Push up from the bottom and then grab it from the top. One corner broke on mine because it had become stuck (or glued) to the box.
The diffuser is not a simple sheet of plastic. It is thicker in teh middle. Be sure to install the new diffuser with the flat surface down. The old diffuser was dull on the bottom and glossy on the top whereas the new one was just the opposite. I think the old one was correct.
Also, the new one had some abrasions on it from the foam pieces it was packaged with. that could have been avoided if they had put the diffuser in its own plastic bag. I rubbed the scratches out with rubbing compound made for cleaning plastic headlight lenses.
- Author
- Dave Krueger
- Visits
- 2310

